
I cataloged that journey for those of you that might like to try this and I like to blog on occasion so it is a win - win. I made myself a template that I scanned for you all to use.

So let's walk through what I used and how to do it.
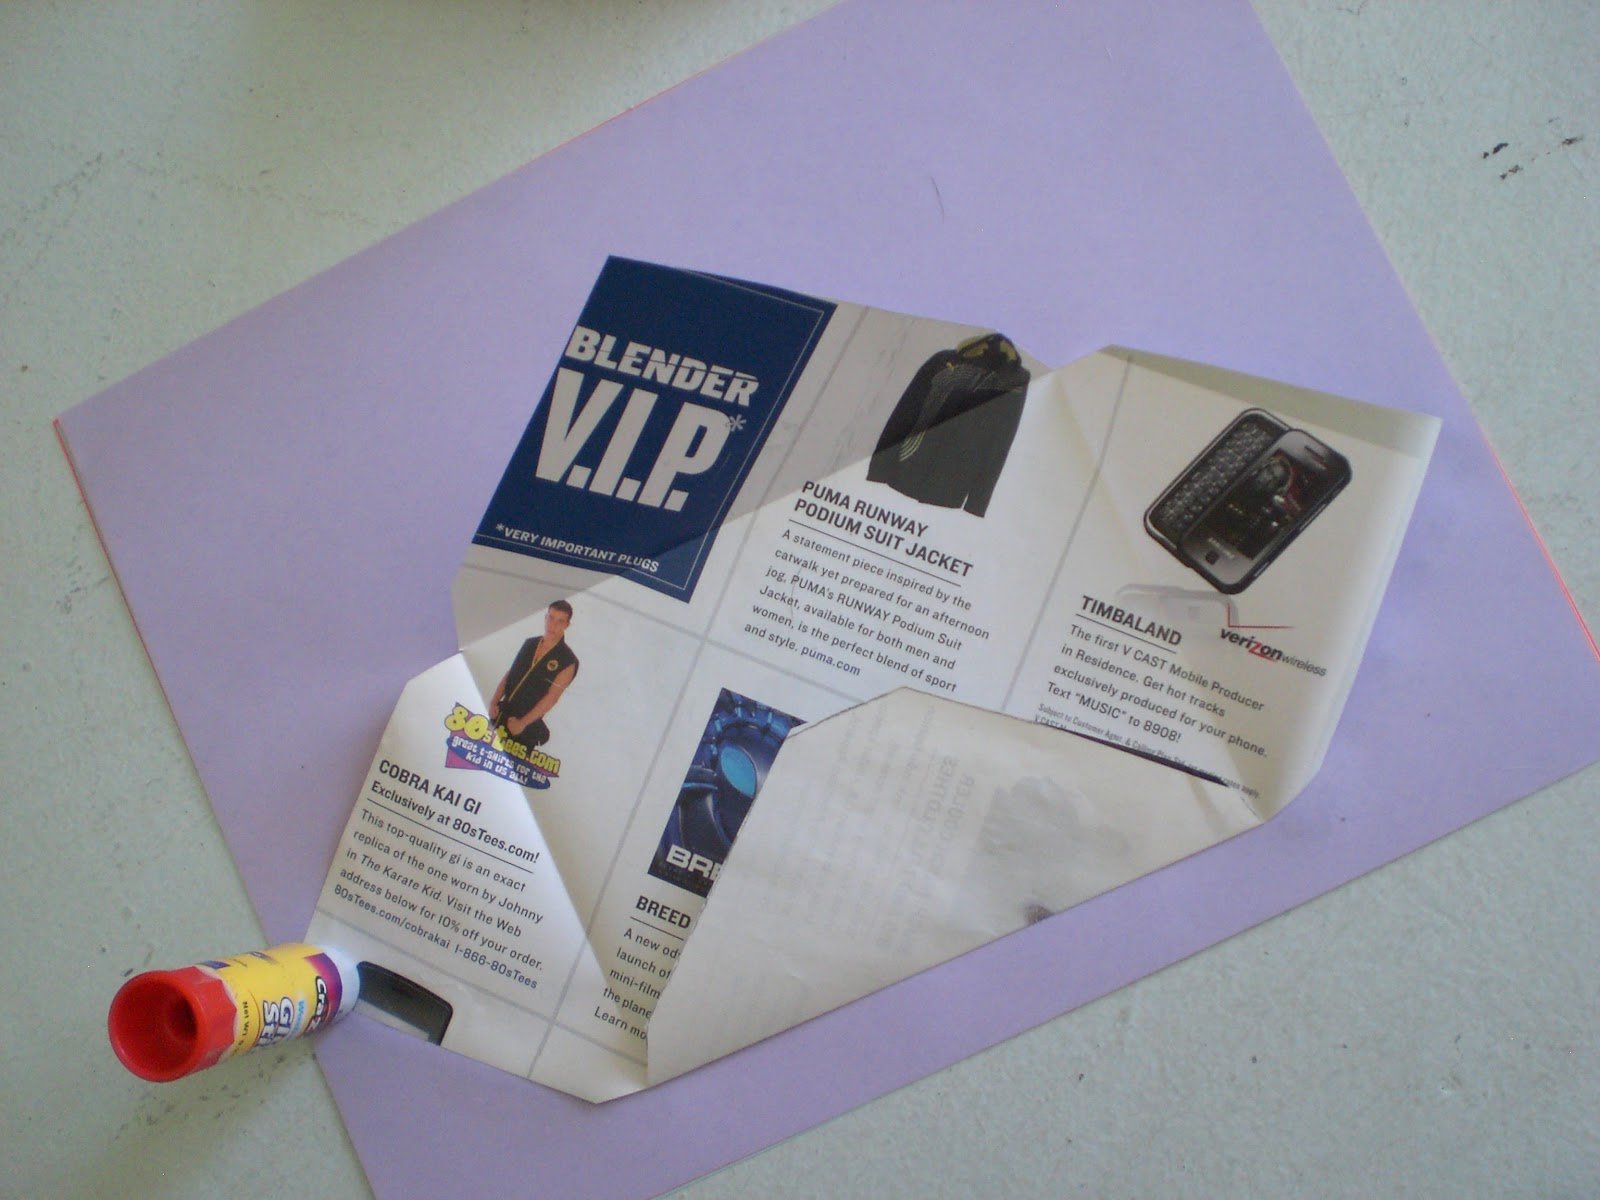
Scissors, Glue stick, Envelope Template, Extra paper. For this I pulled out a few things just to show you that you really are only limited to whatever size paper your template will fit*. So I grabbed some colored copy paper, a magazine and two kinds of wrapping paper.
*I chose this size since it easily fits on an 8.5 x 11 normal sheet of paper.

Also note you should trace your stencil on to the BACK of your paper
just to better hide your pencils lines later.
just to better hide your pencils lines later.

Then cut them out. I intentionally did not straighten the wrapping paper, know if you choose to use paper that came off of a roll that it will naturally try to roll up on you. I watched a documentary called Between the Folds I mention only because it taught me that paper has a memory. It remembers anything you do it it. Be sure your fold is where you want it as once you wrinkle or fold something you will never fully be able to get the fold back out of it. Paper will always remember.

So let's get to folding.

I stack up a few pieces of paper and lay them along the fold line. Or from corner notch to corner notch. This will help you make a straight fold. Bend the flap over the pieces of paper and use your finger tips to smooth over the edge making a good crease in the paper. 

Do this on the bottom and sides. This is always the bottom tab shown above, the one that does NOT come to a point at the end. The top you want to raise your fold line just a little bit higher than corner to corner just to give it room to fold over the other parts in the end. When I so this I do an assembly line of sorts and cut out a bunch, fold a bunch, glue a bunch. I did four just for this so this is what I currently have.

Now we get to gluing. I always do this on a junk piece of paper not not get glue on other things. Fold the bottom (the one with no point) in to the center. 

Now we are going to glue the sides, only the bottom part of the and only 1/4 on and inch in from the edge. See how much my glue stick hangs off the edge? This is what I want and why I have junk paper under this thing. I am going to give it one good pull along the edge and only go back over it if it appears I did not get enough glue but you do not need much. 

Only do the bottoms of the sides, stop here.
Fold the sides in one at a time and smooth the glued part down with your finger
 Then you should have this.
This was obviously some page I ripped out of a magazine just to prove you could use just about anything. The other side. 

As far as not having lick-able gum to seal em, I say who needs it, I often either tape or glue stick mine shut because potato.

This comment has been removed by the author.
ReplyDeleteAwesome Carolyn!
ReplyDeleteThis is stunning...I wish to try it out when i give a touch to my Gift Card envelopes...thanks you share it.
ReplyDelete