Showing posts with label tutorial. Show all posts

Thursday, January 24, 2013

Melting crayons with Carolyn

Scott joked about wanting to follow me around filming me melting crayons and call it melting crayons with carolyn so I ran with it.

So I mentioned before I use the flash dryer from my screen printing setup to melt wax. I would assume most people do not have one so there are a few different things you can do. A hair dryer or heat gun works just as well. I am using card stock since it holds the wax better and I melt all my wax on a block of masonite that has been painted with white house paint. This simply releases the wax better and does not get freakishly hot.

At any time you can click on any of the photos to enlarge them.


I cut up a bunch of crayons in 1/4 inch chunks just because it melts faster cut up and spreads better now I left the wrappers on and that was lazy of me, they will have to be fished out of the hot wax before I stamp the paper down so I left that in to tell you to not be lazy like this. When I get a new box of crayons I usually peel them all right away but I wanted to do this blog so...


Melted but still not giving me the coverage I want


So I tilt it down then to the side to get it to spread a bit more.


I then drop a piece of paper on top and let it slowly pull the wax into it.


Peel it off and I have this.


Since there is still wax left I am going to stamp it again


Tada full coverage


Now to just do one final print to get the rest of the wax off the panel


Less wax, less coverage. I rarely clean the board and just keep adding new wax and stamping away since the build up over time also has it's own appeal.

What I have been doing with these depends by in large on my mood. Sometimes I look at the one like the second print and see if I see anything in it, if I do I accentuate it. Sometimes I like them as is - abstracted fun. The ones with the heavier amounts of wax I usually scratch images into. Sometimes I go back and add more wax again, or paint on them, or add marker accents. I am only restrained by my own imagination. A few examples then go play and have fun with it if you desire.


Tuesday, September 18, 2012

Making your own note card sized envelopes.

Since I started my mail art project I chose to not do post cards but note cards in envelopes instead. This means I need a LOT of envelopes. I also have had a few people send me things in envelopes that appeared they made so I sat down, ripped one apart and figured out what it takes to make my own.
I cataloged that journey for those of you that might like to try this and I like to blog on occasion so it is a win - win. I made myself a template that I scanned for you all to use.


Click the picture to enlarge it, right click-save as with your mouse to save it and print.
So let's walk through what I used and how to do it.
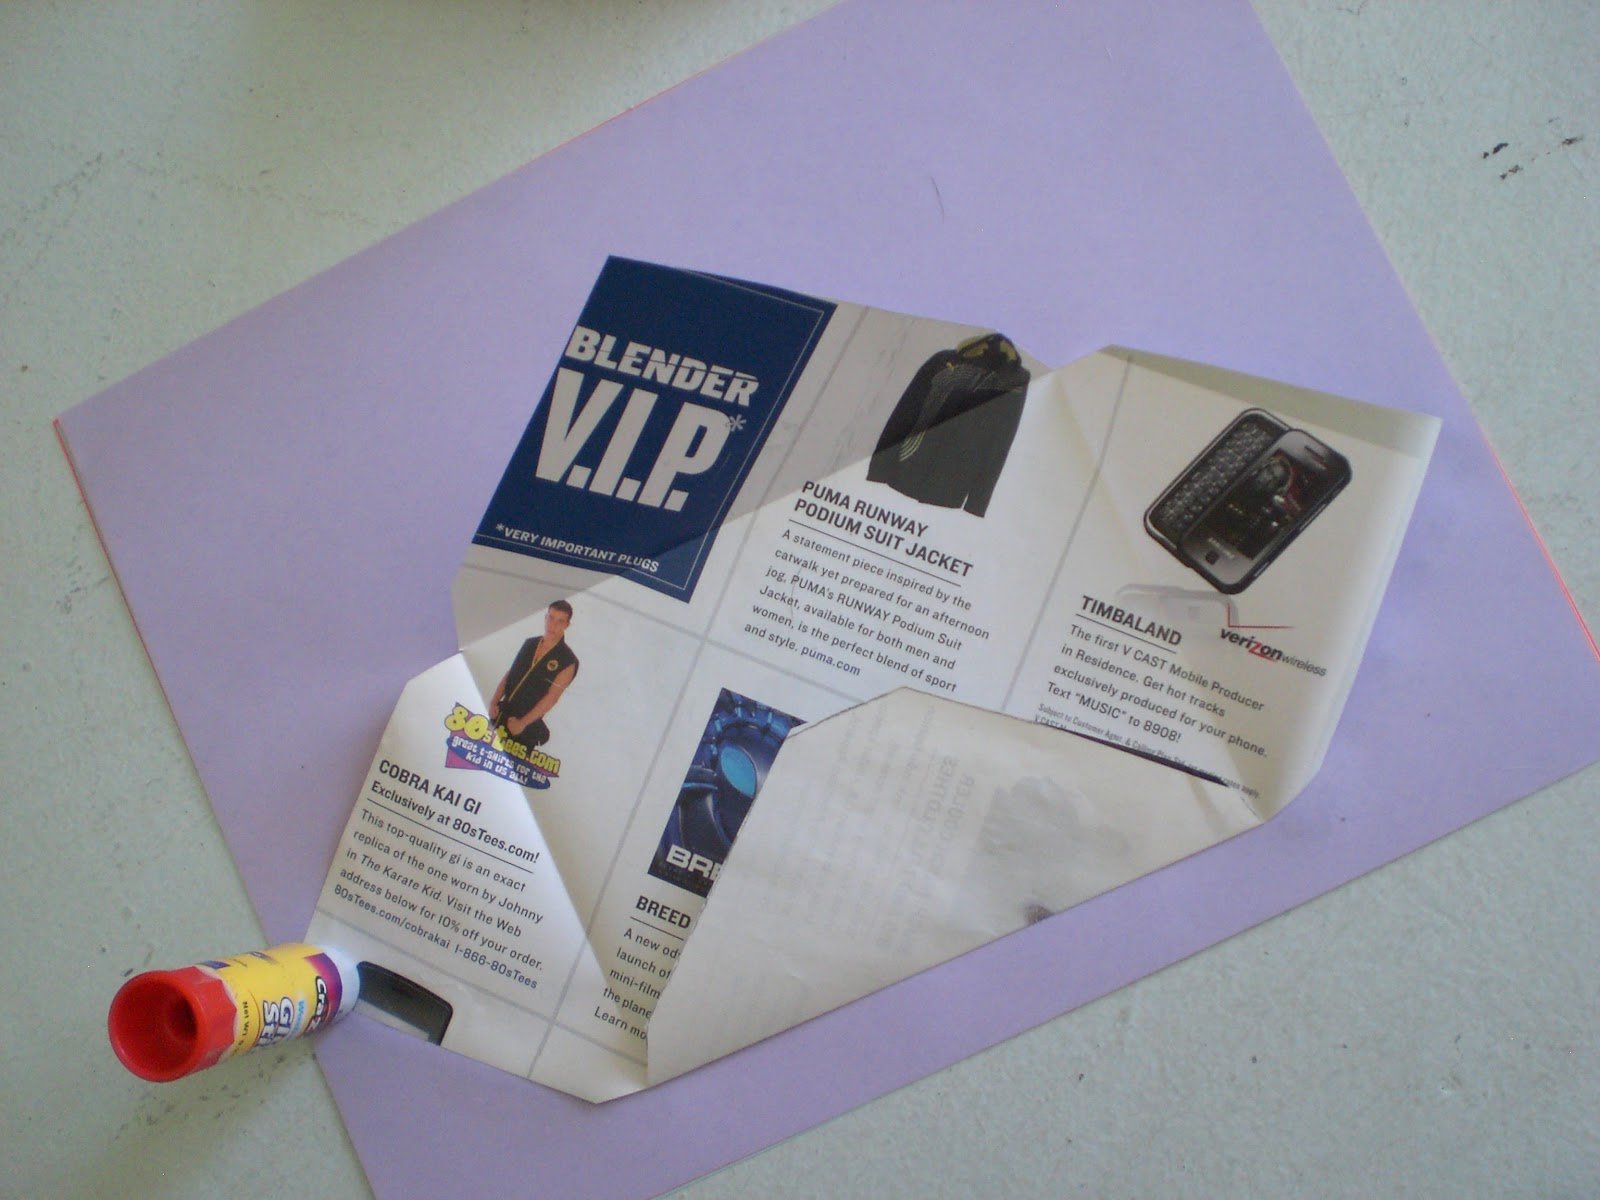
Scissors, Glue stick, Envelope Template, Extra paper. For this I pulled out a few things just to show you that you really are only limited to whatever size paper your template will fit*. So I grabbed some colored copy paper, a magazine and two kinds of wrapping paper.
*I chose this size since it easily fits on an 8.5 x 11 normal sheet of paper.

Then take your template , cut it out and get to tracing it on whatever paper you have chosen.
Also note you should trace your stencil on to the BACK of your paper
just to better hide your pencils lines later.


Then cut them out. I intentionally did not straighten the wrapping paper, know if you choose to use paper that came off of a roll that it will naturally try to roll up on you. I watched a documentary called Between the Folds I mention only because it taught me that paper has a memory. It remembers anything you do it it. Be sure your fold is where you want it as once you wrinkle or fold something you will never fully be able to get the fold back out of it. 
Paper will always remember.


So let's get to folding.

I stack up a few pieces of paper and lay them along the fold line. Or from corner notch to corner notch. This will help you make a straight fold. Bend the flap over the pieces of paper and use your finger tips to smooth over the edge making a good crease in the paper. 
Do this on the bottom and sides. This is always the bottom tab shown above, the one that does NOT come to a point at the end. The top you want to raise your fold line just a little bit higher than corner to corner just to give it room to fold over the other parts in the end. When I so this I do an assembly line of sorts and cut out a bunch, fold a bunch, glue a bunch. I did four just for this so this is what I currently have.
Now we get to gluing. I always do this on a junk piece of paper not not get glue on other things. Fold the bottom (the one with no point) in to the center. 
Now we are going to glue the sides, only the bottom part of the and only 1/4 on and inch in from the edge. See how much my glue stick hangs off the edge? This is what I want and why I have junk paper under this thing. I am going to give it one good pull along the edge and only go back over it if it appears I did not get enough glue but you do not need much. 
Only do the bottoms of the sides, stop here. 

Fold the sides in one at a time and smooth the glued part down with your finger 

Then you should have this.

This was obviously some page I ripped out of a magazine just to prove you could use just about anything. The other side. 
As far as not having lick-able gum to seal em, I say who needs it, I often either tape or glue stick mine shut because potato.


Thursday, April 5, 2012

Stache It!


 So I have made myself a "stache box" and posted a picture to g+ and facebook and it was instantly wildly popular. People had asked if I was going to have more for sale and all kinds of things. At the moment I do not have any extra boxes to sell as it were so I thought I would try to provide you with the next best thing. Here is how I did it and it is easy.

Today I am using one of the panels Scott and I made to paint on. You are free to stick a stache on anything you like but Scott's whole tutorial on how we made these panels can here found here - how-to-build-cheap-panel-for-painting


I will get back later to why I chose to glue a piece of fabric half covering the opening in the back but I did paint all four sides and the back black. For this I use every day cheap bottled plaid acrylic paints that can be found at wal mart or any craft store, nothing fancy. 


Then flipped it over and chose a nice bright red for the front since most of my house is done in primary colors. 


Now if you scroll down I made a set of staches to trace and paint at the bottom of the page. Currently they are saved at about 3 inches in size. I needed mine to be about four inches so I right click saved the image, opened it in paint, hit print preview then selected to make it larger then hit print. On the yellow one shown at the top of the page, for that I just reoriented the page print out to landscape then hit fit to page to get a nice large full page size stache for that one. 


cut it out, align it where you want on your piece


Now if I was doing this myself I would just straight paint it on there no stencil because I can but for you guys I am going to suggest just lightly tracing around it with a pencil. 


So it then looks like this 


I then paint it in but you can see that my pencil line was a little unclean and I chose to not exactly follow it. Now habit would say go get an eraser. And you can BUT make sure your paint is fully dry so you do not smear it. 


I do not erase, I chose to take the background red and just re outline the outside of my stache with it 


Tada, dry and looking good on top of my fridge


Now for fun, since I am a dork like that I flipped this bad boy over and wrote sekret stache in it, drew an additional mini stache back there.


And it is just large enough to hide a few small things


And that would be it

here are the stache outlines I created for you, you do not have to use these, go find/create your own if you so desire.
click the stache to enlarge, right click save as to print. 
remember if you have printing issues to go back up to see how I talked about resizing them before printing to make sure they will properly fit your object


now go stache some stuff